By Jia Xin Quek – January 7th 2020
Thanks to the rise of some incredible free open-source programs, anyone can start extracting 3D information from typical 2D photographs. As part of the Denison Summer Research programme, Astrid and I have been looking into the best ways to do photogrammetry to share the Haswell collection with people all over the world. With just a phone camera and a desktop computer (with a NVIDIA graphics card and ~16GB RAM), we can generate some 3D models of our specimens.
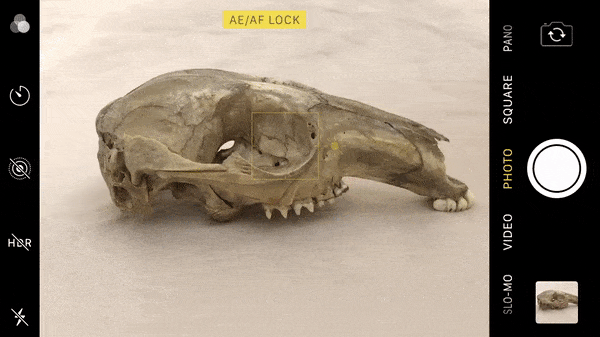
Taking good photos of the specimen is key to ensure that the final 3D product is most representative of the actual specimen. After trying out a couple of different arrangements, we found that natural diffuse lighting, a plain backdrop (we used a long piece of cloth), a tripod and a foam board (to reflect light coming from the window) are some of the key things needed to take good photos with anything like a smartphone. We used an iPhone 7 and generally the photos turned out sharp (Maintaining a single central focus (AF/AE lock) gave us the best photos, in comparison to the 2 other options which were: not having a focus at all or varying the position of the focuses for each photo).
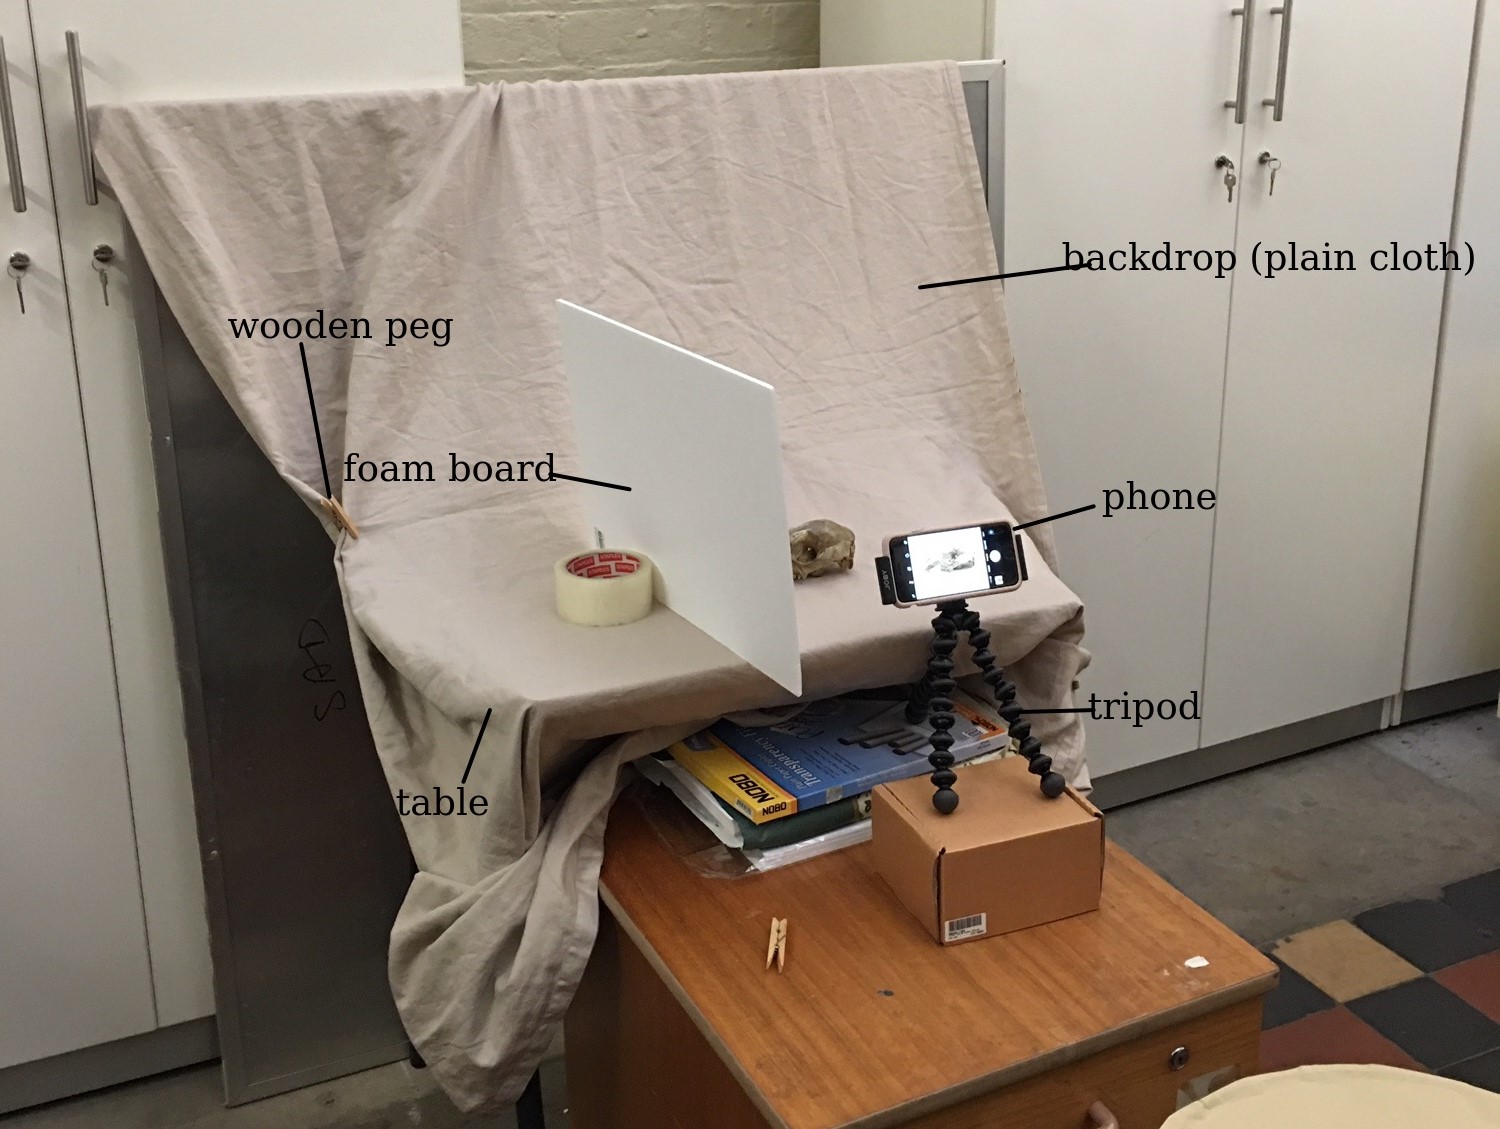
There are 2 ways to take the pictures: move the camera around the object and take pictures from several angles of object OR keep the camera stationery but rotate the object about its position to capture its every angle. We found the latter was the most efficient way to do photogrammetry on small specimens like the kangaroo skull (~15 cm in length). We followed Dr. Peter L Falkingham’s excellent advice on small object photogrammetry (https://peterfalkingham.com/2019/01/16/small-object-photogrammetry-how-to-take-photos/).
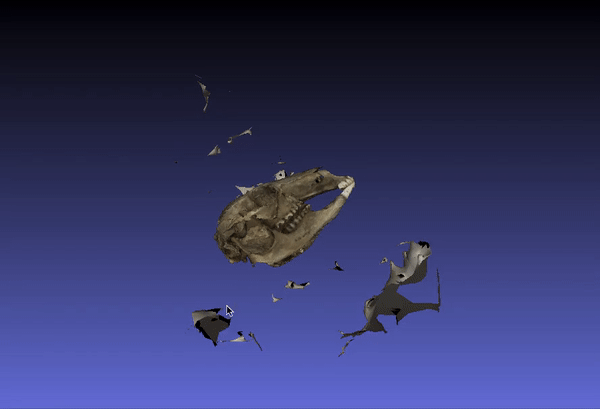
One of the neatest free photogrammetry softwares around is AliceVision’s “Meshroom”. Just import your images into the software, save a workspace folder and hit the start button – the program does ALL the work for you! The program would systematically start to build a 3D model based on features found in the imported images. The only downside to this is that building the 3D model is time-consuming. Constructing a 3D model with ~260 pictures took about 3 hours to complete. Below is a GIF of the 3D model of a kangaroo skull that we generated using Meshroom:
After some editing using Meshlab, we got a “cleaner” 3D model that turned out rather good. The nice thing about photogrammetry is that you can see the surface texture, colour and other fine details of the specimen (you can even see the identification number clearly!). This is something that laser scans and CT scans can’t achieve. Viewing the 3D model generated using photogrammetry together with the CT scans and laser scans could provide us with even more meaningful information.

There’s a problem, though – Meshroom only works for Windows, and not Apple devices. Hence, we looked at a couple of other free softwares and stumbled upon COLMAP which is another photogrammetry software, albeit more challenging to use (it crashes more often and we couldn’t work out why it wouldn’t let us render 3D objects at a high quality setting). Another barrier is the computer system requirements – most people would not have a desktop/laptop with a 16GB RAM (or more) and an appropriate NVIDIA graphics card. Generally, laptops run on 8GB RAM and if they are MacBooks, they tend to not have NVIDIA graphics cards at all 🙁 But after looking around on campus, we found that there are 4 computers in Thinkspace (above the SciTech library in USYD’s Wentworth building) with sufficient system requirements to smoothly run Meshroom. The computers are free for any USYD student or staff member to book via the library website, which is great!